No need for a physical box to control your lights, fans, heaters and other devices. Everything can be controlled through the software.
Exhaust and Intake AC fans
Directly connect two air fans in sockets specially made for AC fans, placed on the front of the Smart Grow Controller. When powered your fans don’t require more physical controllers, just plug and play in the software.

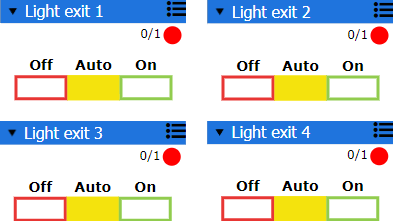
4 of 8 special Light exits
There are four light sockets on the left side of the Smart Grow Controller designed specially for electro-magnetic ballast, the old type.
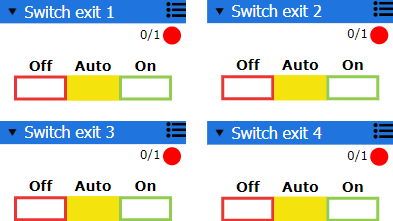
8 of 8 exits
On the two sides of the Smart Grow Controller you find eight sockets for all kinds of lights, lamp fixtures, EC fans, switcher and more.
Event
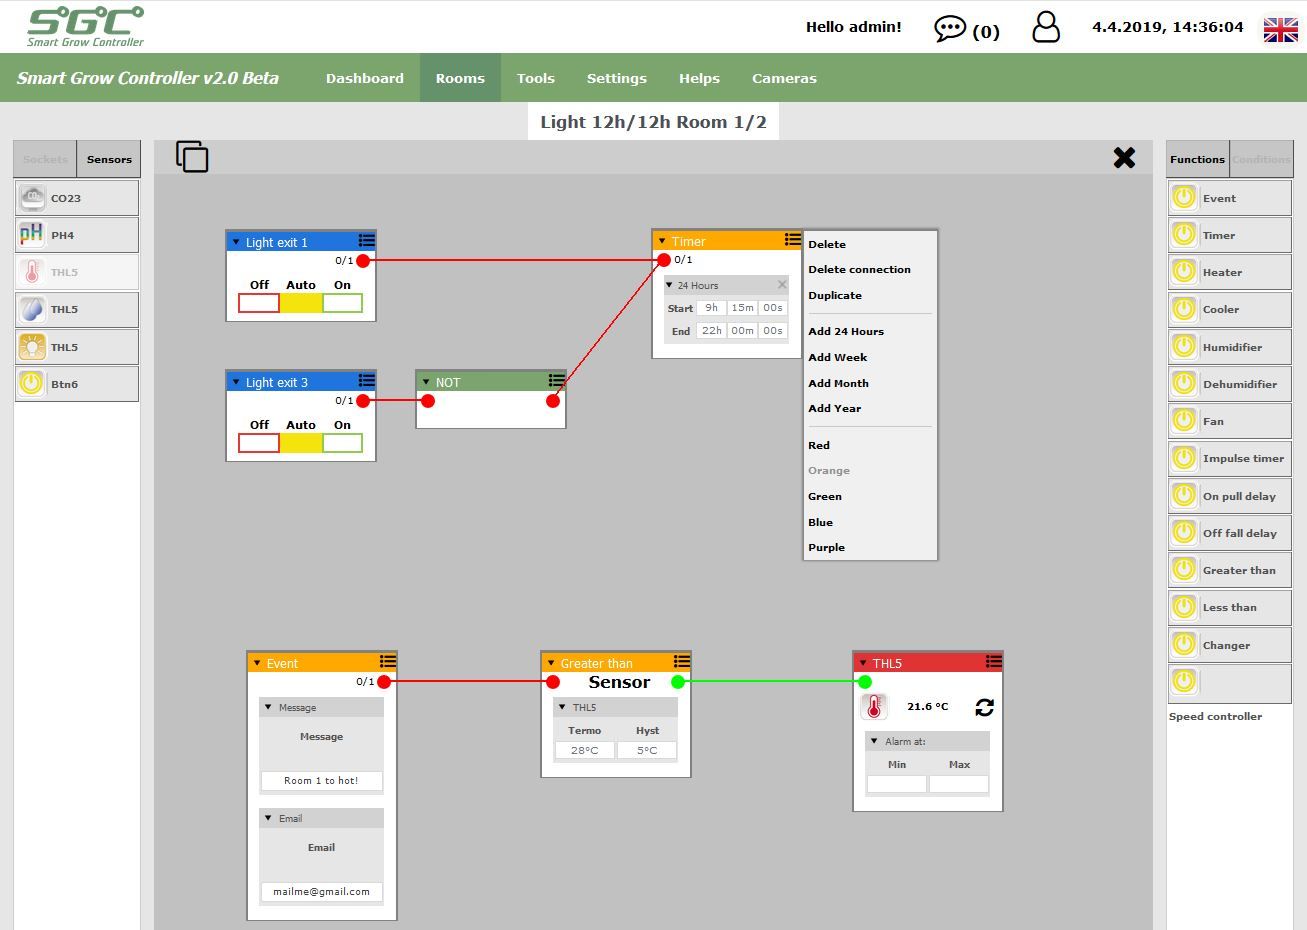
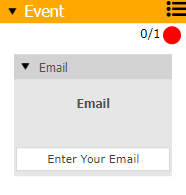
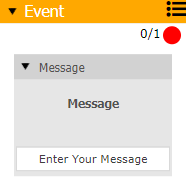
Event emails are send automatically to users after a certain condition is triggered, such as, a controller being disconnected, exceeding set measurement, alarm sensors etc.
Timer
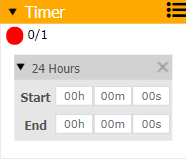
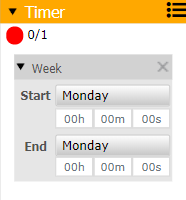
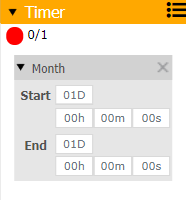
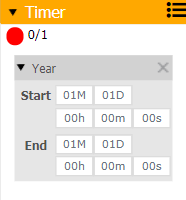
The Timer function allows you to insert the start and end time in: 24 hours, Week, Month, Year format. There can be multiple timer cycles connected to the same exit.
Heater and Cooler
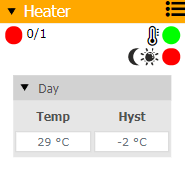
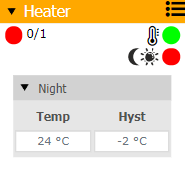
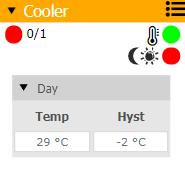
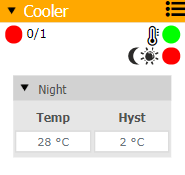
The functions Heater and Cooler need to be connected to a temperature sensor, heater/cooler exit and a light sensor or a timer function with set day/night cycle. The hysteresis determines the two-point state of the contact. If the hysteresis is set to -2°C and the day/night temp. to 29 °C, then your heater will switch ON at 27 °C and switch OFF when the temp. rises to 29 °C. Your heater will remain OFF until the value drops bellow 27 °C. The Cooler function works the same way as the Heater, with the only difference that the hysteresis is reversed during the cooling.
Humidifier and Dehumidifier
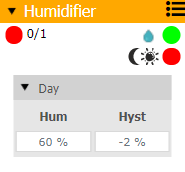
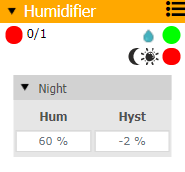
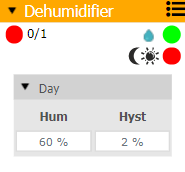
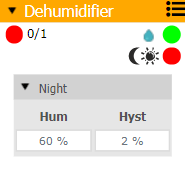
When when using a Humidifier and Dehumidifier functions choose the relative humidity at day and at night time and set the desired hysteresis.
Fan
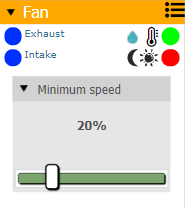
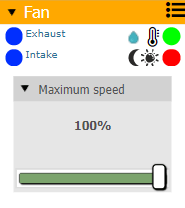
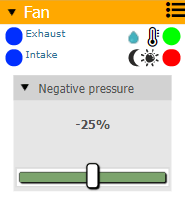
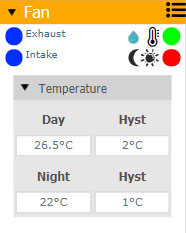
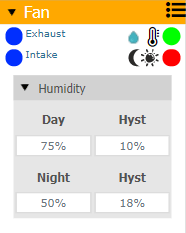
The Fan function has 5 options to control fan speed. Minimum speed- Maximum speed- Temperature and humidity day/night as Hysteresis day/night settings. Connecting it to an intake fan exit and an exhaust fan exit will let you set the negative pressure.
Impulse timer
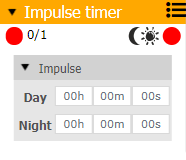
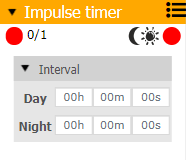
You can set the Impuls ON time and the Interval OFF time for day/night. After the output has been ON for that amount of time it will be turned OFF again.
On pull delay and Off pull delay
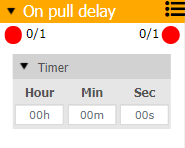
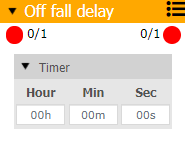
The On pull delay timer function will turn the output ON after a delay. Off fall delay will turn the output OFF after a delay. In other words, the delay is how long you want the timer to be turned ON (for On pull delay) or how long you want the timer to be turned OFF (for Off pull delay). The amount of delay is set in the Timer field.
Greater than and Less than
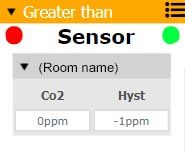
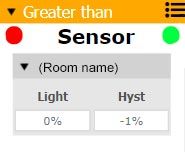
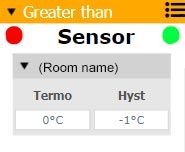
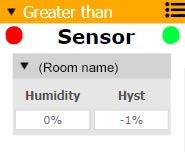
The functions Greater than and Less than need to be connected to a sensor. Depending on the sensor you connect, the options will vary in value and hysteresis. The variable input (in green) will be converted into ON/OFF output (in red). This output can be greater than or less than the input according to your configuration.


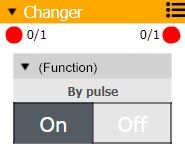
Changer
The Changer function can enable or disable input signals in a way that when one side is engaged another side is disengaged.

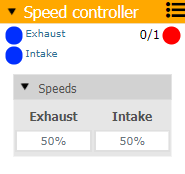
Speed controller
The speed controller function regulates the fan speed and ensures a constant speed setting as soon as the I/O entrance is activated.
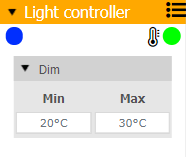
Light controller
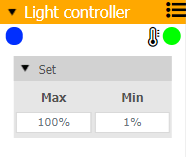
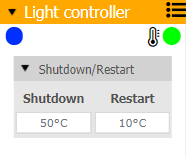
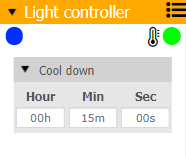
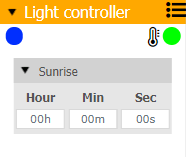
The Light controller function Start/Stop lights by an timer, reduce power according to the room temperature, minimum and maximum dimming range, emergency stop when the room gets to hot accompanied with a recovery temperature setting, restart delay for HPS and MH lamps to not start under hot bulb condition. There are sunrise and sunset functions.

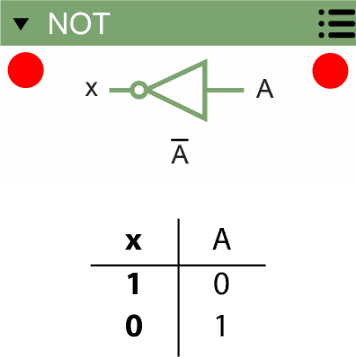
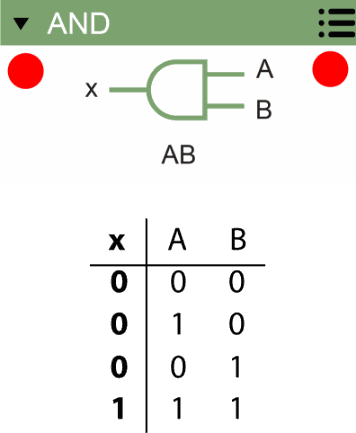
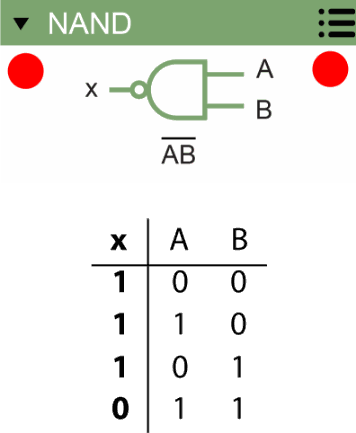
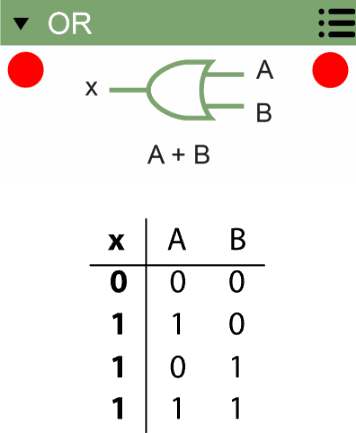
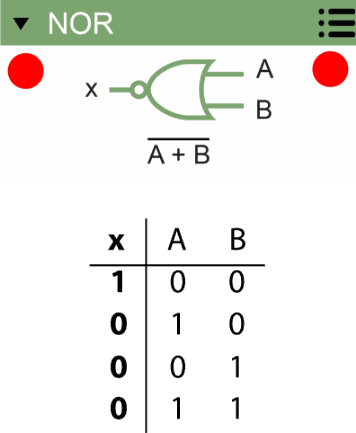
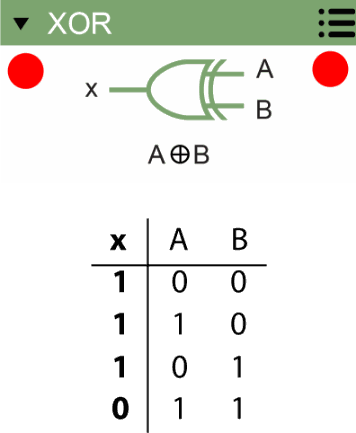
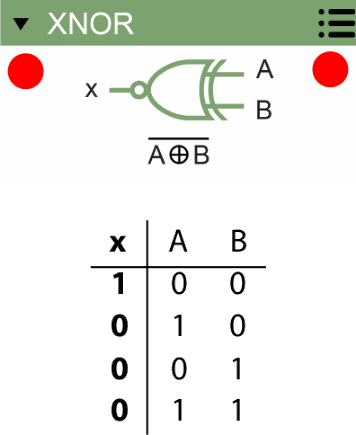
Logic gates
Note: Inputs are set from the right side, so that the result comes out from the left. These are programmable logic operations with true or false values. With the original values "A", as input, and an outcome after applying the operation as output "x". Each logic gate can have multiply inputs "A", "B", "C", "D", "E"... etc, but not more than one output "x" .
Multiple sensor support
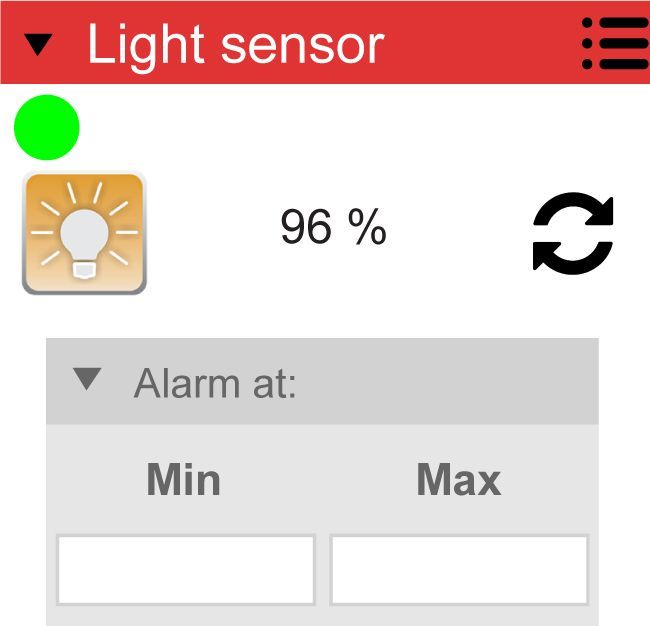
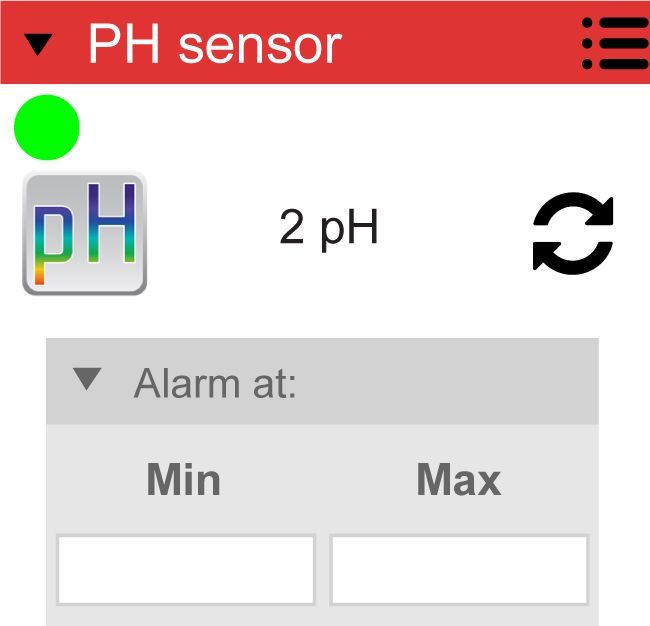
The Smart Grow Controller comes ready to use with a SGC Temperature, Humidity and Light sensor with 4m wire and software. You can connect up to 30 different sensors and satellites. Prepare the sensor for use by connecting it to one of the addressing ports of the Smart Grow Controller, then selecting it from the software. To use the sensor, go to the Rooms menu, create a New Room and place the sensor inside. Connect the variable output (green dot) to an appropriate function from the toolbar on the right and the sensor will work according to your configuration. Inside each sensor you will find a programmable alarm setting, which is optional.
SG13 GSE Light sensor
SG14 SGC PH Acid sensor
SG15 SGC EC conductivity sensor
SG16 SGC CO2, Temp. humidity and light sensor
SG10 SGC Temperature sensor
SG12 SGC Temp. Hum. and Light sensor
SG17 SGC Button, switch sensor
Supported functions in free version:
Timer, Heater, Fan, AND, OR, NOT
Supported functions in full version:
Cooler, CO2 controller, Speed controller, Event, Humidifier, Dehumidifier, On pull delay, Off fall delay, Impulse timer, Greater than, Less than, Changer, Light controller, NOR, NAND, XOR, XNOR
